4 Simple DIY Home Projects on a Budget
Sometimes all it takes to transform the look of your home completely is a single weekend project. But where do you even start? And how much is it going to cost?
Don’t worry about a thing — we’ve got you covered. Whether you want to revamp a room or completely transform your house, we’ve got just the DIY home projects for you. Plus, we’ll keep your budget in mind with budget-friendly projects and money-saving tips.
Add a Gallery Wall
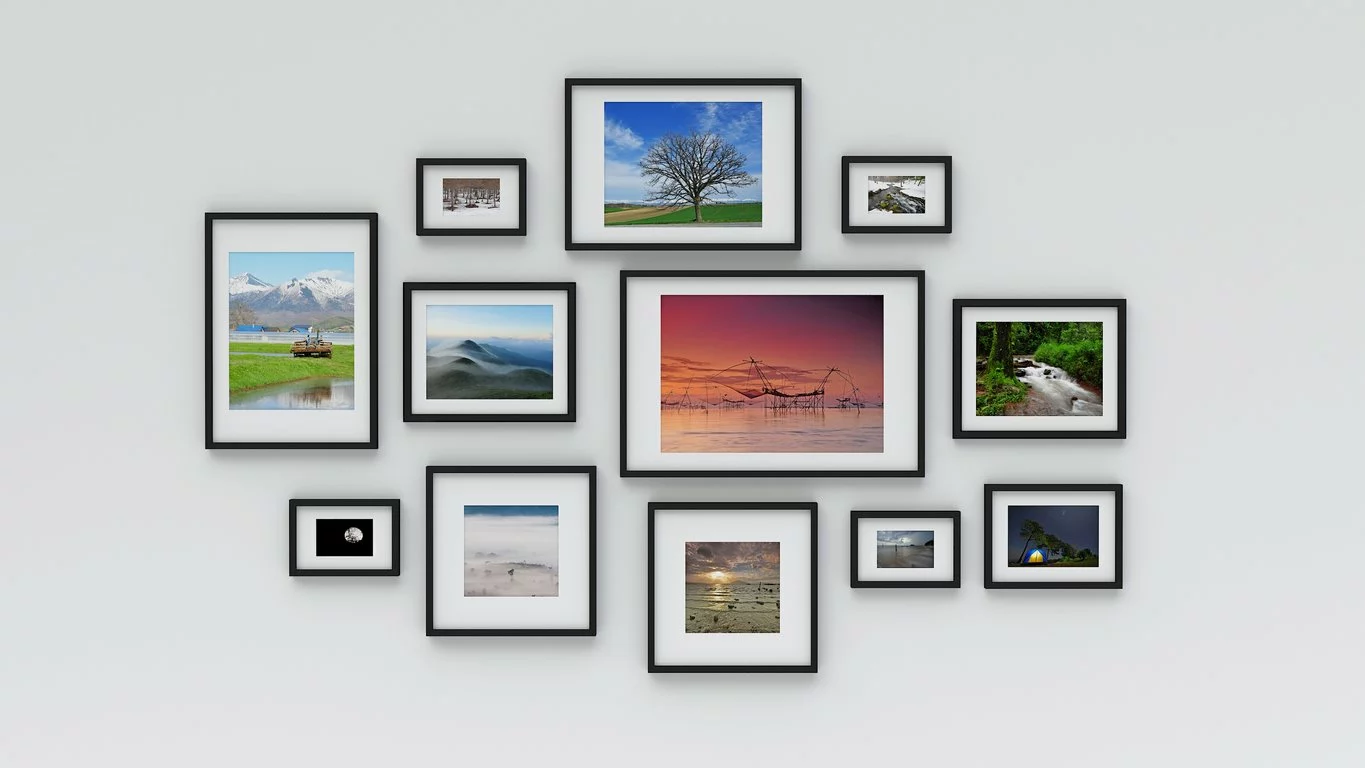
Wall decorations add dimension and personality to a room, but it can be difficult to know where to start — especially without putting a hundred misplaced nail holes in the wall. Luckily, a gallery wall is the perfect, user-friendly place to start.
Materials:
- Gallery wall items — photos, prints, frames, etc.
- Hammer and nails
Instructions:
- Start by identifying a collection of things you’d like to hang on your wall. This could be a collection of family photos or art prints, but also other keepsakes or collections, like an old license plate or dried flowers. You can also find various decor or picture frames at almost any thrift store.
- Outline how much space you’d like the gallery wall to take up. You can find a variety of gallery wall inspiration online, but the easiest way to do so is to work from the center of the space outward, allowing the pieces to fill the space but not form a strict grid or square. Plan your layout on the floor first to get a visual of your design.
- Place a focal item toward the center of the wall, near the middle or top. Shape the display around this focal item, leaving 2-3 inches between items. Intermix items of varying sizes as you like.
- Last but not least, hang up your gallery wall. A hammer and nails are cheap and reliable, but velcro hanging strips, poster tack, and temporary hooks give you the freedom to change things up without leaving any holes.
Give Wood Furniture a Fresh Stain
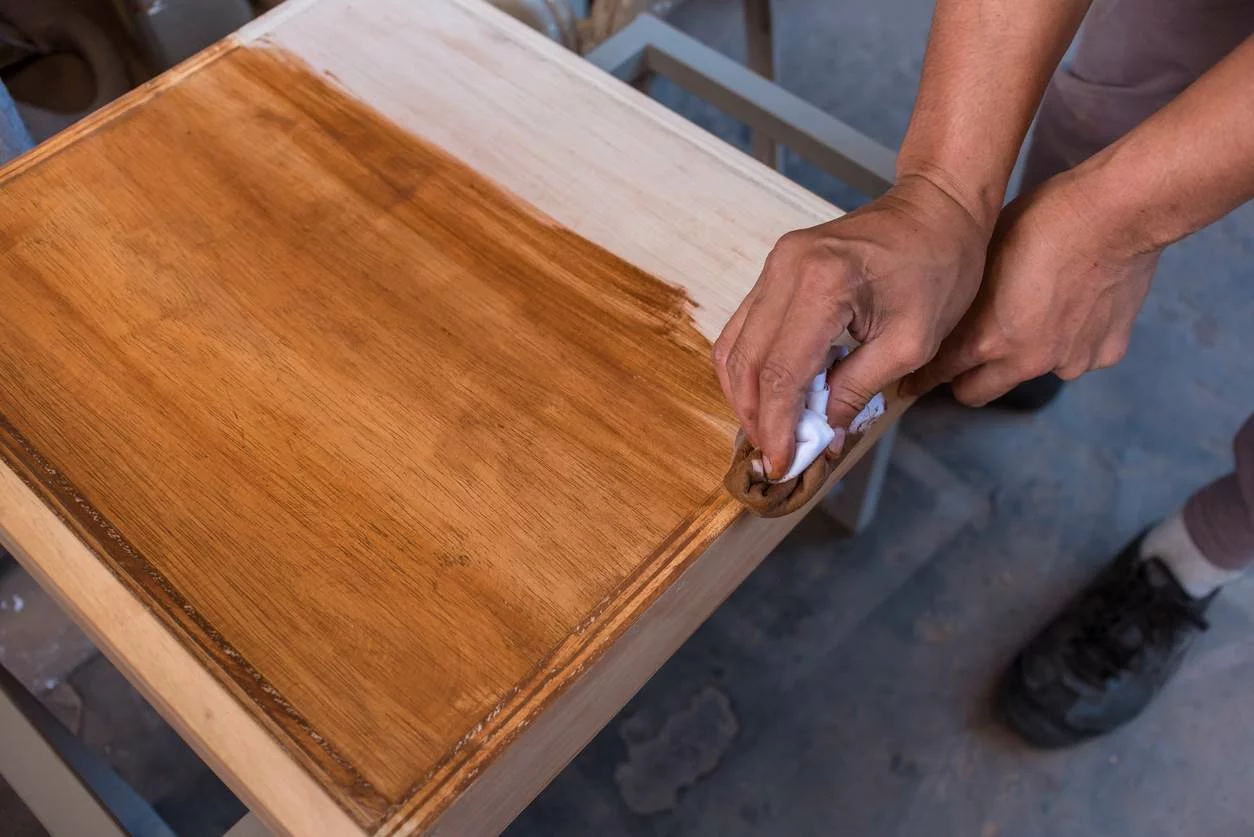
Wood furniture can easily elevate a room or leave it lacking. Whether your wood pieces are mismatched or just need a fresh color, staining is a relatively quick and easy way to give it new life.
Materials:
- Pre-stain wood conditioner
- Stain
- Sandpaper: 120, 180, and 220 grit
- Tack cloth
- Drop cloth/old bedsheet
- Soup cans or another prop
- Stain applicator: Either a bristle paintbrush, foam brush, or a clean rag
Instructions:
- In a well-ventilated area, lay a drop cloth to catch any messes. If needed, prop the furniture on soup cans.
- Sand the wood in the direction of the grain with the 120-grit sandpaper. Repeat with 180-grit and then again with the 220-grit until the wood is smooth to the touch. Wipe off the dust with your tack cloth.
- Stir stain with a paint stick, then apply it to the wood using your applicator. Work in circular motions if working with deep wood grain, otherwise, follow the grain of the wood.
- Allow the stain to set according to its type, 5-15 minutes for oil-based stains or two minutes for water-based stains. Wipe off the excess stain.
- Let the wood dry. This will vary according to type.
- Apply sealer. For the best finish, let this first coat dry, then lightly sand the surface with the 220-grit sandpaper. Then, apply a second coat of sealer.
Paint an Accent Wall
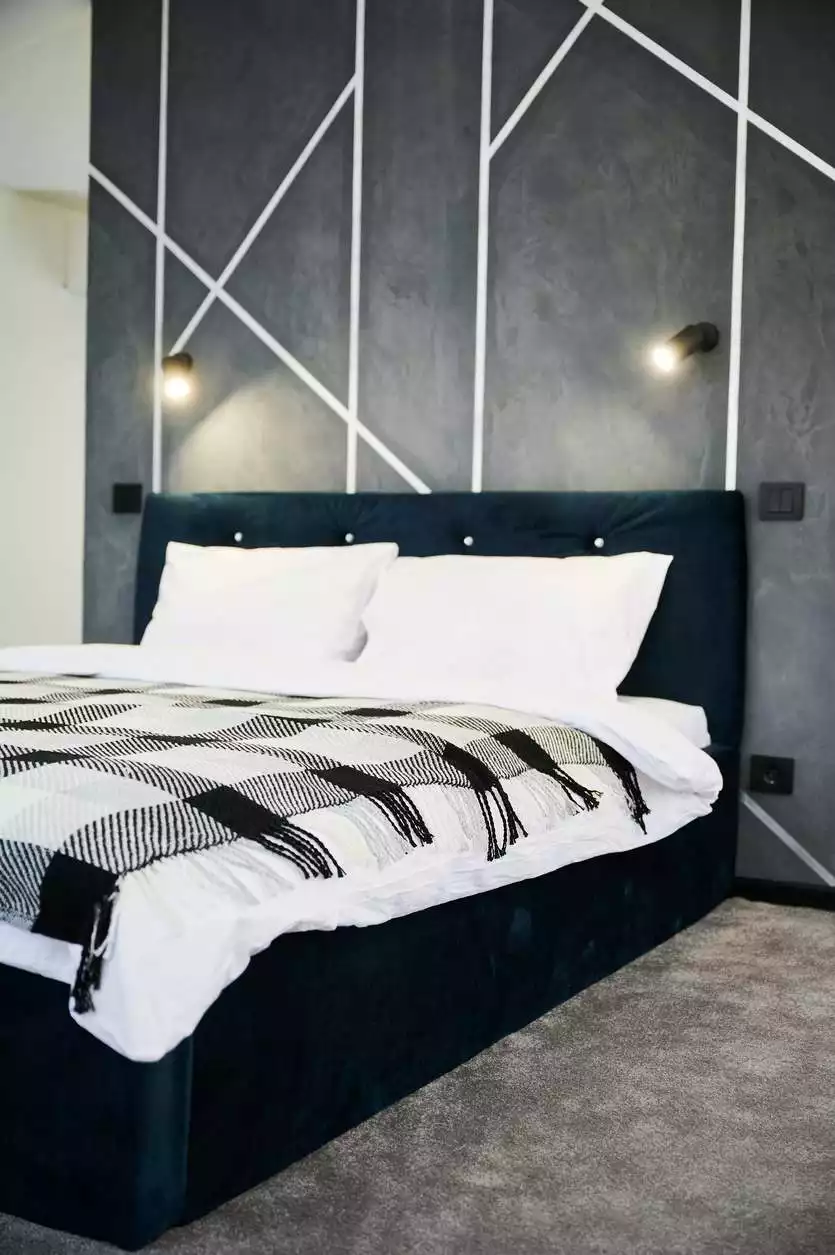
An accent wall can be as artistic or uncomplicated as you’d like, but one thing is for sure — it’s far less expensive to do it yourself. Just pick your inspiration and get started!
Materials:
- Painter’s tape
- Paint
- Bristle brush
- Roll paint brush
- Paint tin
- Drop cloth/old bedsheet
- Paint primer (if painting over a dark color)
Instructions:
- Lay down a drop cloth in the painting area. Careful line edges with painter’s tape. If creating artwork, draw the design onto the wall with a pencil or outline with painter’s tape.
- Open the paint can and pour a portion into the tin. Start with a bristle brush along the corners and edges, painting 2-3 inches outward.
- Dip the roll brush until fully coated, then remove the excess. Roll the brush in a ‘W’ motion on the wall. Continue until the whole wall is coated, dipping the brush in additional paint as needed.
- Apply additional coats as needed. Be sure to wait until the paint is dry to the touch.
When creating a DIY accent wall, you can use painter’s tape to add shapes, lines, or sections of different colors. Or, pick up some peel-and-stick wallpaper to add a fun pattern to your accent wall!
Add Window Boxes

Gardening can cost an arm and a leg, but it doesn’t have to. Window boxes offer an easy way to maintain landscaping and brighten your home with a pop of color and greenery.
Materials:
- Wood
- Saw (if your wood is not pre-cut to measure)
- Hammer & nails
- Drill
- Clamps
- Exterior wood screws
- Waterproof wood glue
- Primer & paint
- Mounting brackets
- Plants or flowers of choice and potting soil
Instructions:
- Use a hammer and nails to form an open-top box. Use clamps as needed to hold things in place. Finish the seam with waterproof wood glue.
- Prime the box, inside and out, then paint the desired color.
- Drill drainage holes, then cover the holes with a weed barrier to prevent the soil from draining.
- Install your mounting brackets outside the desired windows using a drill.
- Place the window box and secure it with a drill.
- Fill the box potting soil and add your nursery plant or seeds. If your window box is quite deep, use aluminum cans to fill part of the space without weighing the box down with soil. Water thoroughly.
Find More in Store for Your DIY Project
DIY projects can quickly get messy. Whether you’re embarking on a small weekend project or taking on a full home renovation, personal storage is an easy way to keep things under control. Use a unit as a DIY project closet or to house supplies for ongoing projects when you need your home back to normal. With locations across the country and flexible rentals, find the perfect solution for your project today!